Table of Contents
- What Water Damage Restoration Really Means
- Water Mitigation vs. Restoration: Where One Ends and the Other Begins
- The Water Damage Restoration Process, Step by Step
- Water Damage Categories and Contamination Levels
- A Realistic Water Damage Restoration Timeline
- Water Damage Insurance Claim Tips for Homeowners
- What to Do Immediately After Water Damage
- DIY vs. Professional Restoration: What You Need to Know
- Frequently Asked Questions
Last Updated: October 17, 2026
What Water Damage Restoration Really Means
Water damage restoration is the process of returning a property damaged by water intrusion to its pre-loss condition, combining water removal, structural drying, cleaning, and repair. At Sentinel Restoration, we define it simply: it is the work of stopping the damage, drying what can be saved, and rebuilding what cannot.
The distinction shapes everything that follows, from your insurance claim to how long you will be out of your home.
Restoration vs. Mitigation: The Core Difference
Water mitigation is the emergency phase: stopping the water source, extracting standing water, and preventing further damage. Water damage restoration is the full recovery: drying, sanitizing, repairing, and reconstructing until the property matches its pre-loss condition.
Mitigation buys you time. Restoration gets you home. A crew that extracts water and leaves is not a restoration contractor, and a quote that covers only extraction is not a restoration quote.
Water Mitigation vs. Restoration: Where One Ends and the Other Begins
The handoff happens when moisture readings stabilize and demolition of unsalvageable materials is complete. Until then, you are still in mitigation.
Here is how we draw the line in practice:
| Phase | Typical Work | Ends When |
|---|---|---|
| Mitigation | Source control, extraction, containment, demolition | Standing water gone, moisture readings trending down |
| Drying | Air movers, dehumidifiers, daily monitoring | Materials reach dry standard |
| Restoration | Cleaning, sanitizing, reconstruction | Property matches pre-loss condition |
What most guides miss is that the boundary is not a date on a calendar. It is a measurement. A restoration contractor who cannot show you moisture readings is guessing.
The Water Damage Restoration Process, Step by Step
Every legitimate water damage restoration process follows the same sequence, whether the loss is a burst supply line or a flooded basement. Skipping a step is how mold comes back six months later.
Step 1: Inspection and Damage Assessment
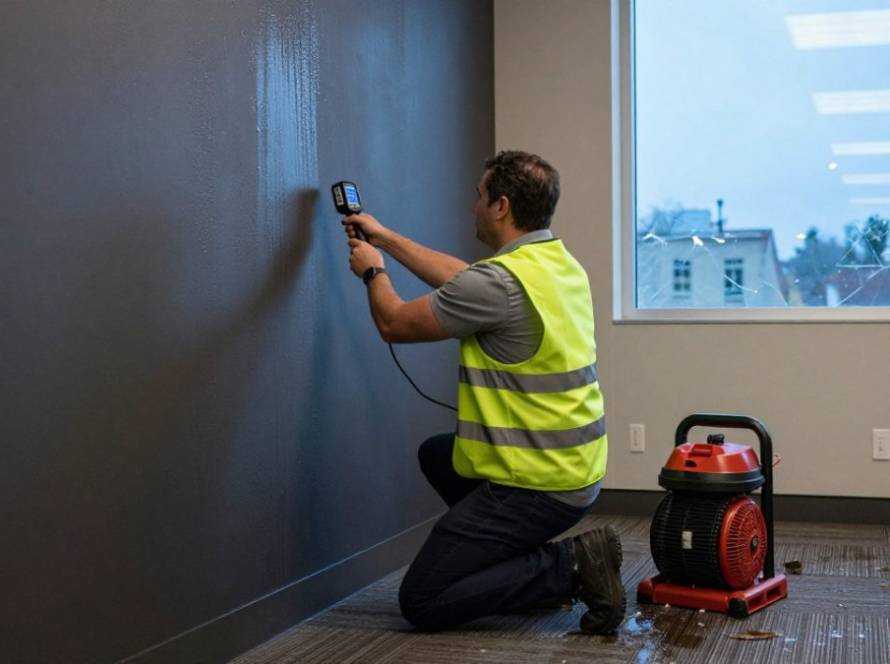
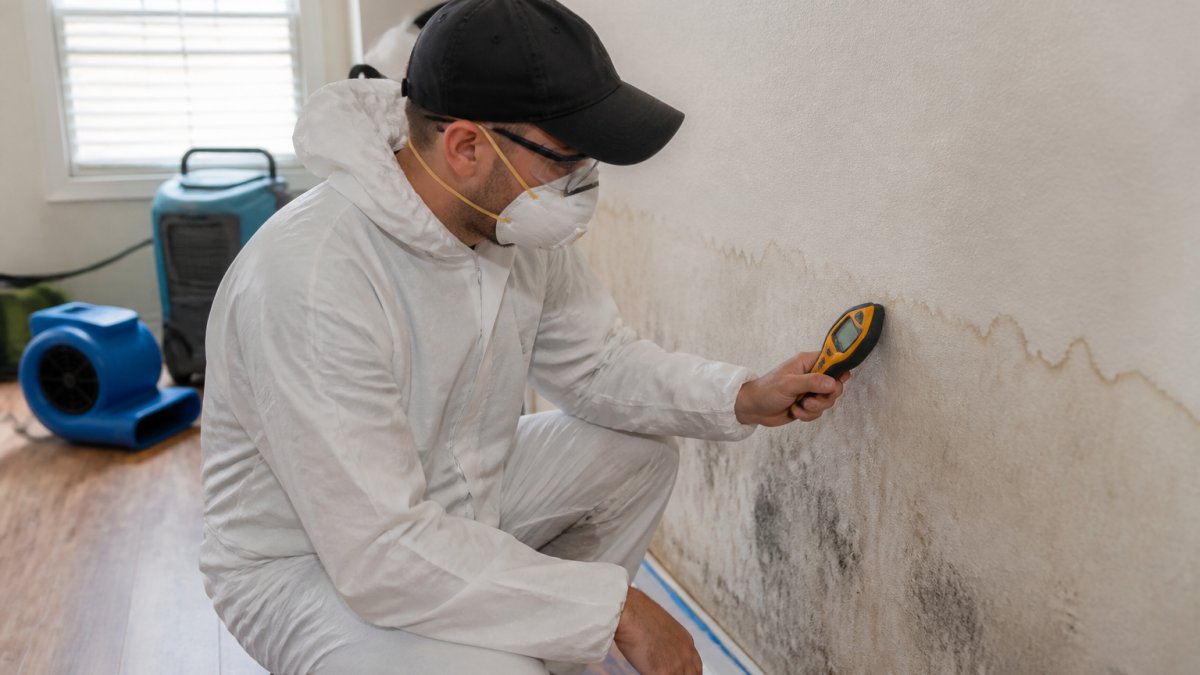
The assessment identifies the water source, the category of contamination, and how far moisture has traveled. Technicians use moisture meters and thermal imaging to find water hidden behind drywall and under flooring. This inspection also produces the documentation your insurance claim depends on.
Step 2: Water Removal and Extraction
Extraction removes standing water using truck-mounted or portable units, followed by weighted extraction on carpet. Faster removal means less secondary damage and a shorter drying window.
Step 3: Drying, Dehumidification, and Monitoring
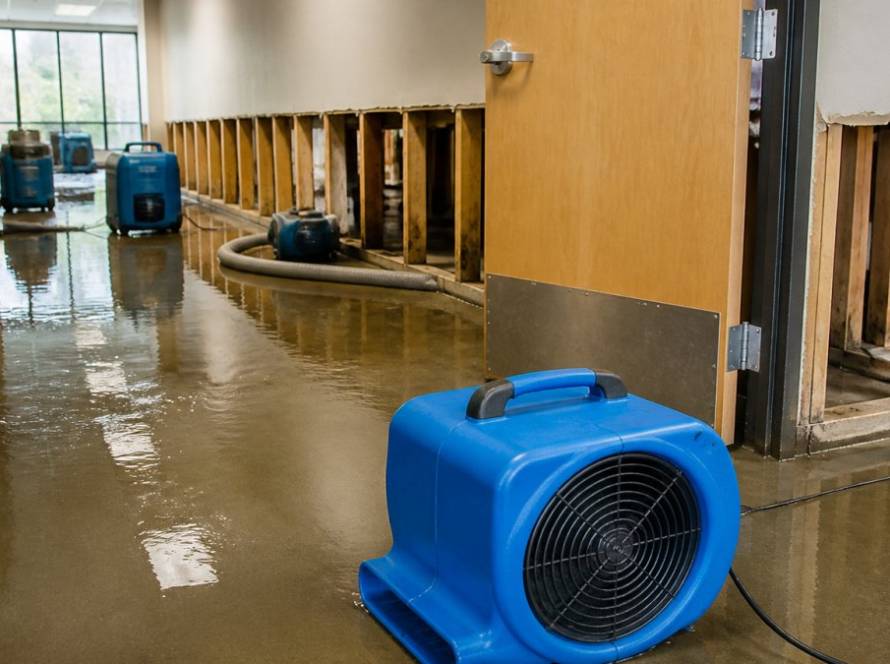
Air movers and dehumidifiers pull moisture out of building materials, and technicians record moisture readings daily to confirm drying progress. Structural drying is complete when readings match a documented dry standard, not when the surface feels dry to the touch.
Step 4: Cleaning, Sanitizing, and Repair
Affected areas are cleaned, sanitized, and disinfected, then damaged materials are repaired, reconstructed, or replaced. This is where restoration proper begins.
Water Damage Categories and Contamination Levels
Water damage falls into three categories, and the category determines how much can be saved. Category 1 is clean water from a supply line. Category 2 is gray water, such as washing machine discharge, which carries some contamination. Category 3 is black water: sewage, ground surface flooding, or long-standing water, which requires removal of porous materials rather than drying them.
Category matters for safety and for your claim. A Category 3 loss is not a shop-vac job.
Never dry Category 3 materials in place. Porous items like drywall, insulation, and carpet padding that absorbed black water must be removed, or contamination and mold growth follow. The cost of replacement is far lower than the cost of remediation later.
A Realistic Water Damage Restoration Timeline
Most residential losses reach a dry standard in three to five days, but that number is a range, not a promise. The water damage restoration timeline stretches for Category 3 losses, large commercial spaces, and jobs involving reconstruction.
Here is how the phases typically break down for a contained residential loss:
| Phase | Typical Duration | What Ends the Phase |
|---|---|---|
| Emergency response and extraction | Day 1 (often within hours of the call) | Standing water removed, source controlled |
| Structural drying and monitoring | 3 to 5 days for most residential losses | Materials reach the documented dry standard |
| Cleaning and sanitizing | 1 to 2 days, overlapping drying | Affected surfaces cleaned and disinfected |
| Repair and reconstruction | Days to weeks, depending on scope | Property matches pre-loss condition |
Those ranges assume a Category 1 or 2 loss in a typical single-family home with drying started within 24 to 48 hours.
What “Dry” Actually Means
Drying is not finished when the carpet feels dry underfoot. Technicians compare daily moisture readings in building materials against a dry standard, which is a target moisture content established for the materials and conditions in that specific home.
A common pattern is for surface materials to read dry while the framing behind them stays wet. That hidden moisture is what feeds mold growth weeks later.
Ask for the moisture readings in writing at the start and end of drying. A before-and-after record is the clearest evidence that drying was actually completed rather than simply stopped.
The Three Variables That Move the Timeline Most
- Contamination level. Category 1 clean water dries fastest. Category 2 gray water requires cleaning and sanitizing in addition to drying. Category 3 black water usually means removing porous materials rather than drying them, which adds demolition and replacement time.
- Materials affected. Hard surfaces like tile and concrete dry faster than carpet, pad, drywall, and insulation. Saturated drywall often has to be cut out, and that removal adds reconstruction to the schedule.
- How quickly drying started. The first 24 to 48 hours matter more than any other variable. Water that has soaked into framing for a week changes the scope of the job.
When the Timeline Stretches
Category 3 losses, large commercial spaces, and jobs involving reconstruction routinely run longer than the residential average. A flooded basement with sewage backup is not a three-to-five-day job once removal, disinfection, and rebuild are counted.
A contractor who gives you a single completion date without explaining the phases and the drying criteria is guessing. A realistic timeline names the phases, states what measurement ends each one, and updates you when readings change the plan.
Water Damage Insurance Claim Tips for Homeowners
Most homeowners policies cover sudden and accidental water damage, such as a burst supply line or a failed appliance, but exclude long-term seepage and maintenance neglect. The restoration work and the claim are intertwined: the documentation a contractor produces during mitigation and drying is often the same evidence an adjuster relies on to approve the scope. Understanding that relationship is the difference between a claim that moves smoothly and one that stalls over disputed line items.
Document Before Anything Moves
Photograph and video every affected room before cleanup begins. Capture standing water, the water source, damaged belongings, and the water line on walls or furniture. Keep every receipt for emergency expenses, including hotels, meals, and emergency repairs. Report the loss promptly, since most policies require timely notice, and ask your adjuster to explain any line item you do not understand.
A few water damage insurance claim tips worth writing down:
- Photograph and video every affected room before cleanup begins
- Save receipts for hotels, meals, and emergency repairs
- Request the adjuster’s estimate in writing
How Restoration Records Support the Claim
The claim file is strongest when it shows what was wet, how wet it was, and what was done about it.
This matters because adjusters evaluate scope, not just damage. A claim that says “water in the basement” is harder to approve than one that documents affected square footage, material types, moisture readings, and the equipment deployed.
Do not throw away damaged materials before the adjuster has seen them or the claim has been documented. Porous items removed during a Category 3 cleanup are often the clearest evidence of the loss, and disposing of them early can complicate the claim.
Estimates, Scope, and the Reconstruction Line
Restoration estimates typically separate mitigation (extraction, drying, cleaning) from reconstruction (drywall, flooring, paint, cabinetry). Some policies handle these under different coverage or sublimits, so it helps to know which portion of the estimate falls where.
A common pattern is for the initial estimate to cover visible damage while the final scope grows once materials are opened and hidden moisture is found.
Questions Worth Asking Your Adjuster
- Does the policy cover hidden moisture testing and access, such as opening a wall to check for wet framing?
- Are drying equipment and daily monitoring covered as part of mitigation?
- Is there a separate sublimit for mold remediation if secondary growth is found?
Getting clear answers early keeps the claim aligned with the work and reduces the chance of a dispute after the job is complete.
What to Do Immediately After Water Damage
Shut off the water source if it is safe to reach, then cut power to affected areas at the breaker. Move furniture and belongings off wet flooring, and call a restoration contractor before you start pulling up carpet.
Health and safety risks during cleanup are real: contaminated water, electrical hazards, and slip risks cause injuries every year. If the water is dark, smells, or came from outside, stay out of the space.
Take a photo of your moisture meter or the water line on the wall before anything dries. That single image often settles disputes about how high the damage actually reached.
DIY vs. Professional Restoration: What You Need to Know
Small, clean-water spills on hard surfaces can sometimes be handled with towels and a fan. Anything involving Category 2 or 3 water, saturated drywall, or more than a minor area needs professional equipment and documentation.
The real difference comes down to measurement and liability. Professionals verify drying with moisture readings, prevent mold with proper containment, and produce the records insurers require. DIY saves money upfront and often costs more later.
Frequently Asked Questions
What does water damage restoration include?
Water damage restoration covers the full recovery of a property after water intrusion, from emergency water removal and structural drying to cleaning, sanitizing, and rebuilding damaged materials. The water damage restoration process typically starts with an inspection and damage assessment, followed by water extraction, dehumidification, moisture monitoring, and finally repairs or reconstruction to return the property to its pre-loss condition. Some projects also include mold prevention or mold remediation if contamination is found.
How long does water damage restoration take?
Most water damage restoration timelines run three to seven days for drying, but the total depends on the water category, how much material is affected, and whether reconstruction is needed. Clean water in a small area may dry in two to three days, while contaminated water or flooded building materials can push the project past a week. Restoration contractors monitor moisture readings daily and adjust drying equipment until structural drying targets are met.
What is the difference between water mitigation and water damage restoration?
Water mitigation stops the damage from spreading: extraction, drying, and emergency stabilization. Water damage restoration goes further, repairing or replacing damaged materials so the property matches its pre-loss condition. In practice, mitigation is the first phase of the restoration process, and the two are often handled by the same IICRC-certified team. Understanding water mitigation vs. restoration helps homeowners follow their insurance claim and know what each invoice covers.
What should I do immediately after water damage?
Shut off the water source if possible, cut power to affected areas only if it is safe, and document everything with photos before moving anything. Remove standing water with towels or a wet vacuum, lift furniture off wet carpet, and call a restoration contractor for an inspection. Avoid entering rooms with contaminated water or visible mold, and do not make permanent repairs before your insurance adjuster reviews the damage.
Does water damage restoration include mold remediation?
Not always, but the two often overlap. Mold can begin growing within 24 to 48 hours of water intrusion, so restoration contractors inspect for moisture and mold during the damage assessment. If mold is present, the scope expands to include containment, removal of affected materials, and sanitizing. Choosing a contractor certified in both water damage restoration and mold remediation avoids hiring multiple companies.
Is professional water damage restoration worth it?
Professional restoration is usually worth it when water has reached building materials, when the water is contaminated, or when the claim is large. Household fans and shop vacuums rarely dry wall cavities or subfloors, and hidden moisture leads to mold and structural damage. IICRC-certified contractors use moisture meters, thermal imaging, and commercial dehumidifiers, and they provide the documentation your insurance claim needs.
What should I avoid saying to an insurance adjuster about water damage?
Avoid guessing at the cause, speculating about how long the water was present, or saying the damage is minor before an inspection. Do not admit fault or agree that maintenance was neglected. Stick to facts: when you noticed the water, what you did, and what a contractor documented. Keep receipts and photos, and let your restoration contractor’s moisture readings and scope of work support your water damage insurance claim tips.
Water damage rarely waits for a convenient moment, and the first few hours decide how much of your property survives intact. Sentinel Restoration brings IICRC-certified technicians, advanced moisture detection technology, and decades of industry experience to every job, restoring properties to their pre-loss condition and helping owners navigate the insurance process along the way. Contact us to schedule an assessment and start your recovery with a team committed to doing the right thing.