Table of Contents
- Can You Do Water Remediation Yourself? The Short Answer
- DIY Water Damage Cleanup: What You Can Safely Handle
- Step 1: Stop the Water and Make the Area Safe
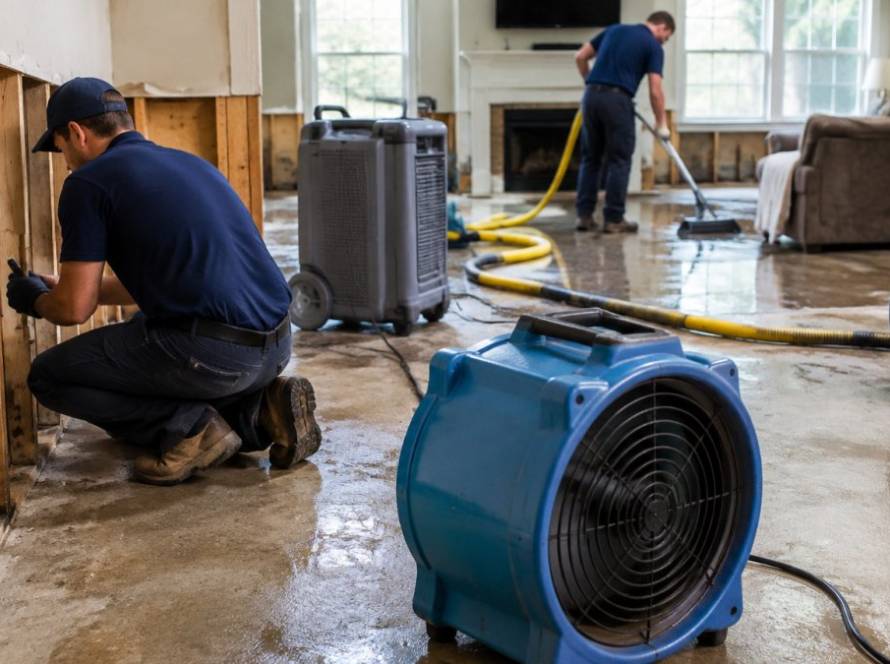
- Step 2: Extract Standing Water and Remove Damaged Materials
- How to Dry Out a Water-Damaged Room
- Water Damage Mold Remediation: When DIY Stops Working
- Water Damage Cleanup Costs: DIY vs. Professional
- Frequently Asked Questions
Last Updated: October 19, 2026
Can You Do Water Remediation Yourself? The Short Answer
Yes, you can do water remediation yourself in limited cases: clean water, a small area, and a fast start. Anything beyond that needs a professional crew. This guide from Sentinel Restoration walks you through what is safe to handle and where to stop.
Water damage gets worse by the hour. Mold can start growing on wet materials in as little as 24 to 48 hours, according to EPA guidance on mold and moisture. So speed matters more than perfection.
Here is the honest version most guides skip: the size of the puddle matters less than the source of the water and what it touched.
Never start cleanup until you know where the water came from and whether it is clean. Pumping out contaminated water without protective gear can expose you to bacteria and sewage-borne illness.
DIY Water Damage Cleanup: What You Can Safely Handle
DIY water damage cleanup works when three things line up: clean water, a small affected area, and no hidden moisture in walls or floors. If any of those fails, call a pro.
Most homeowners can handle a supply-line leak or an overflowing tub. Few can safely handle a sewer backup or a flooded basement with soaked insulation.
The Three Water Categories and What They Mean for You
The industry sorts water damage into three categories, and the category decides whether you touch it.
- Category 1 (clean water): Supply lines, rain, or a tub overflow. Safe to handle with basic gear if you act fast.
- Category 2 (gray water): Washing machine discharge, dishwasher water, or a toilet bowl overflow without waste. Contains some contamination.
- Category 3 (black water): Sewage, ground surface water, or floodwater. Grossly contaminated and a health risk.
Category matters because water degrades over time. Clean water sitting for a couple of days can turn into gray water as it picks up debris and grows bacteria.
If you are unsure of the category, treat it as Category 3. Wear gloves, boots, and eye protection, and let a professional assess before you start pulling up flooring.
A Decision Tree: Damage Size, Source, and Materials
Use this quick decision tree before you grab a shop vac.
- Clean water, under about 10 square feet, one room: DIY is reasonable.
- Clean water, larger area, or water under flooring: Call a pro.
- Gray or black water of any size: Call a pro.
- Water touched drywall, insulation, or carpet padding: Call a pro.
- Water near outlets, a panel, or gas appliances: Stop and call a pro.
Here is the same logic in table form:
| Situation | DIY or Pro | Why |
|---|---|---|
| Clean water, small spot | DIY | Easy to dry, low risk |
| Clean water, soaked drywall | Pro | Hidden moisture, mold risk |
| Gray water | Pro | Contamination risk |
| Black water | Pro | Health hazard |
| Water near electrical | Pro | Shock and fire risk |
Step 1: Stop the Water and Make the Area Safe
Shut off the water source first, then kill the power to any wet area. Safety comes before cleanup, every time.
- Shut off the supply. Turn the fixture valve or the main shutoff.
- Cut the power. Flip the breaker for any room with water near outlets.
- Check for gas. If you smell gas, leave and call your utility.
- Suit up. Wear gloves, boots, and eye protection. Use a respirator for moldy or gray water.
- Ventilate. Open windows and doors to cut humidity.
The OSHA guidance on flood cleanup hazards flags electrical shock, slips, and contaminated water as the top risks. Take all three seriously.
Never stand in standing water while touching a panel or outlet. Water plus live current is a fatal combination, and it happens more than people think.
Step 2: Extract Standing Water and Remove Damaged Materials
Remove standing water fast with a wet/dry vacuum or a pump, then pull out anything that cannot be saved. The longer water sits, the more materials you lose.
- Extract water with a wet/dry shop vac or a submersible pump.
- Pull up soaked carpet and padding. Padding rarely dries and should go.
- Cut out wet drywall a few inches above the water line.
- Remove wet insulation behind the wall.
- Bag and discard damaged materials.
Extraction is the single biggest lever you control. Get the bulk water out, then move to drying.
How to Dry Out a Water-Damaged Room
Drying a room means moving air, pulling humidity down, and checking moisture until it reads dry. Fans alone are not enough. You need airflow plus a dehumidifier.
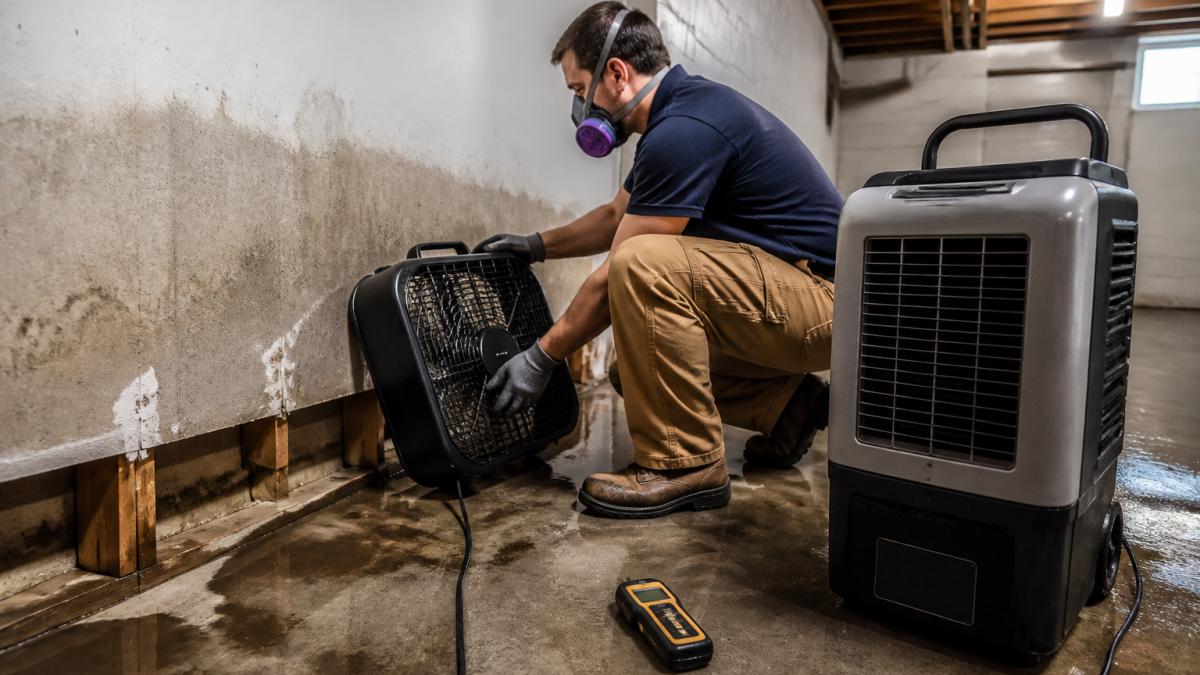
Set up the room like this:
- Fans pointed across wet surfaces, not straight down into them.
- A dehumidifier sized for the room to pull moisture from the air.
- Open interior doors to improve air circulation.
- A humidity gauge to keep indoor humidity under control.
Run the equipment continuously. Most small jobs take a few days, and larger ones take longer.
Verifying That Materials Are Actually Dry
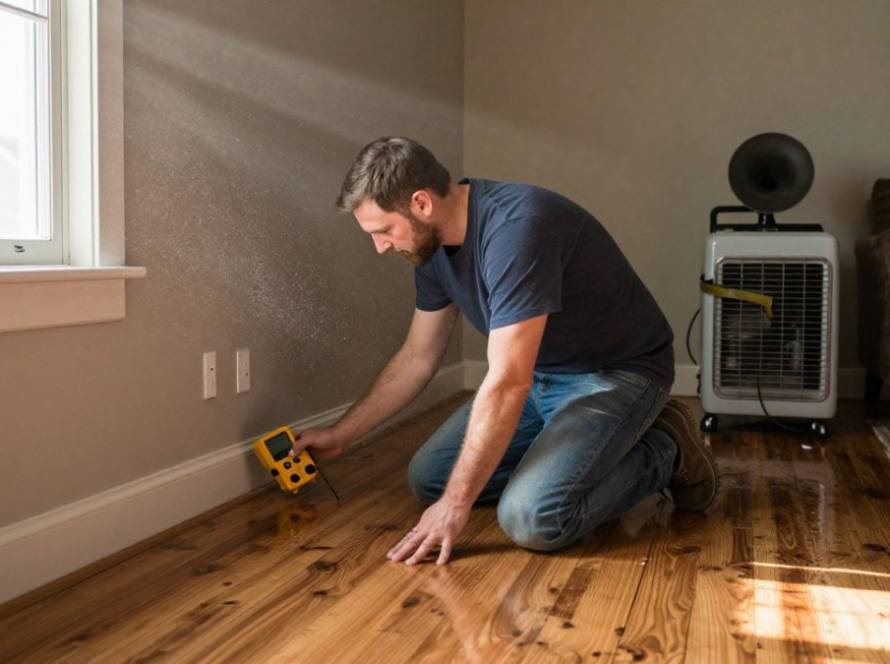
Do not trust your hand. Use a moisture meter on drywall, wood, and flooring, and compare readings to a dry reference spot in another room.
- Pin-type meter for drywall and wood studs.
- Pinless meter for quick surface scans.
- Humidity gauge to confirm the air is dry too.
If readings stay high after several days, hidden moisture is likely trapped in a wall cavity. That is your cue to call a pro.
Dry means the meter matches a known-dry area, not that the surface feels dry to the touch. Trust the reading.
Water Damage Mold Remediation: When DIY Stops Working
Water damage mold remediation is not a DIY job once mold spreads past a small patch. The EPA recommends professional help for mold covering more than about 10 square feet, per EPA mold cleanup guidance.
Watch for these stop signs:
- A musty smell that will not go away.
- Visible mold on walls, ceilings, or framing.
- Mold behind drywall or under flooring.
- Anyone in the home with asthma or a weakened immune system.
Mold that comes back after a cleanup usually means the moisture was never fully fixed. That is the part most DIY attempts miss.
At Sentinel Restoration, our IICRC-certified team uses advanced moisture detection technologies to find hidden water and confirm a space is truly dry. That is how you stop mold from returning.
Water Damage Cleanup Costs: DIY vs. Professional
Water damage cleanup costs depend on square footage, water category, and materials. We do not quote flat prices here because every job differs, but the trade-offs are clear.
| Factor | DIY | Professional |
|---|---|---|
| Equipment | Rent or buy fans, dehumidifier, vac | Pro-grade drying gear |
| Time | Days of your own labor | Crew handles it |
| Hidden moisture | Easy to miss | Detected with meters |
| Insurance | Often not covered | Documented for claims |
| Mold risk | Higher if drying is incomplete | Lower with verified drying |
DIY saves money up front but can cost more later if moisture is missed. Professional restoration costs more but comes with documented drying and insurance-friendly reporting.
If you are filing a claim, keep photos, receipts, and a written timeline. Many insurers want proof of the damage and the drying process. A pro can help you coordinate that paperwork.
Photograph everything before you move it, including the water line on walls. Those photos are gold when you file a claim.
For a professional assessment, contact Sentinel Restoration. Our IICRC-certified team handles water damage, mold remediation, and full reconstruction, and we can walk you through the insurance side too.
Frequently Asked Questions
When is water damage safe to clean up yourself?
DIY water damage cleanup is generally safe when the water is clean (Category 1) from a broken supply line or rain, the affected area is small (roughly under 10 square feet), and you can start within 24 to 48 hours. You must also be able to dry the space fully with fans and a dehumidifier. Stop and call a professional if the water is gray or black, if it came from a sewer or toilet, if the damage involves electrical outlets, or if mold is already visible.
How much does it usually cost to fix water damage?
Water damage cleanup costs vary widely based on the size of the affected area, the water category, and how much material must be removed. Your final cost depends on square footage, drying time, and whether insurance covers the claim.
Will insurance cover basement water damage?
Coverage depends on the source. Sudden, accidental events like a burst pipe are usually covered by standard homeowners policies, while gradual seepage and groundwater flooding often are not. Flood damage generally requires a separate flood policy. Document everything with photos and keep receipts for any DIY water damage cleanup supplies, since your adjuster will need them to process the claim.
How can I remove mold from water damage?
For small patches on hard surfaces, you can scrub with a detergent solution and dry the area completely. Water damage mold remediation becomes a professional job when the mold covers more than about 10 square feet, when it is inside drywall, insulation, or carpet, or when anyone in the home has respiratory sensitivity. Fixing the moisture source matters more than the cleaning itself, because mold returns if the material stays damp.
Water damage rarely waits, and neither should you. If your damage is bigger than a small clean-water spill, or you are unsure, Sentinel Restoration can assess it fast. Our IICRC-certified crew uses advanced moisture detection to find hidden water, dry your property to pre-loss condition, and coordinate your insurance claim along the way. Get started with Sentinel Restoration and restore your peace of mind.